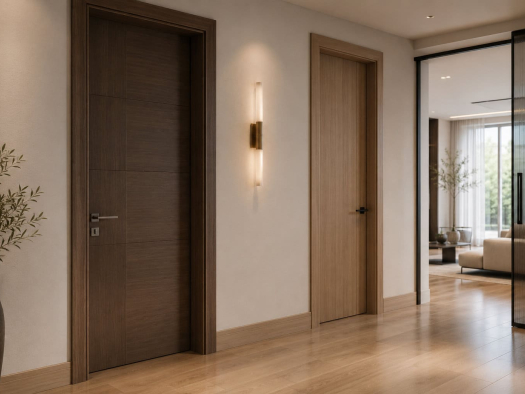
- What Is a Pre-Hung Interior Door?
- Tools and Materials You’ll Need
- Step 1: Measure the Rough Opening
- Step 2: Prepare the Door and Rough Opening
- Step 3: Dry Fit the Door
- Step 4: Level and Shim the Door Frame
- Step 5: Secure the Door Frame
- Step 6: Check Door Operation and Adjust
- Step 7: Install Door Trim and Finish
- Additional Tips for Success
- Why Choose Indigo Doors for Your Pre-Hung Interior Doors
Installing a pre-hung interior door can seem intimidating at first, but with the right tools, careful measurements, and a step-by-step approach, it’s a manageable DIY project that can greatly improve the look and functionality of your home. Pre-hung doors come already mounted on their frames, which makes installation simpler and more accurate compared to hanging just the door slab.
This comprehensive tutorial will guide you through each step of installing a pre-hung interior door, covering everything from preparation to final adjustments. Whether you are a beginner or have some experience with home improvement projects, this guide will help you install your new interior door efficiently and with professional results.
What Is a Pre-Hung Interior Door?
A pre-hung door is a door slab already attached to a door frame (jamb), complete with hinges, and often includes the door stop and weather stripping (if applicable). This setup allows for easier installation, as you only need to fit the entire unit into the rough opening rather than fitting hinges and hardware separately.
Pre-hung doors are especially popular for interior renovations because they save time, reduce mistakes, and ensure proper alignment and sealing.

Tools and Materials You’ll Need
Before starting, gather the following tools and materials:
- Pre-hung interior door (with frame and hinges)
- Measuring tape
- Level (preferably a 4-foot level)
- Hammer and finishing nails or nail gun
- Shims (thin wooden wedges)
- Screwdriver or drill with screwdriver bits
- Wood screws (3-inch screws recommended)
- Utility knife
- Pencil or marker
- Caulk and caulk gun (optional for trim sealing)
- Safety glasses and work gloves
Step 1: Measure the Rough Opening
Start by measuring the rough opening where the door will be installed. The rough opening is the framed space in the wall that should be slightly larger than the door frame to allow for adjustments.
Typically, the rough opening should be about 2 inches wider and 2.5 inches taller than the door frame. For example, if your door frame is 30" wide and 80" tall, the rough opening should be approximately 32" x 82.5".
Make sure the rough opening is square by measuring diagonally from corner to corner. The two diagonal measurements should be equal or very close. If the opening is uneven, you’ll need to correct this with shims during installation.
Step 2: Prepare the Door and Rough Opening
Remove any debris or obstructions in the rough opening. Check the framing for any damage or rot, especially on older homes.
Next, carefully unpack the pre-hung door unit and inspect it for any damage during shipping. Check the hinges, door slab, and frame for any defects.
Step 3: Dry Fit the Door
Before fastening anything, place the door unit into the rough opening to see how it fits. Check for gaps on all sides — the door should fit comfortably with space for shims but without large openings.
Check the door swing direction and make sure it matches your desired opening side. Adjust if necessary.

Step 4: Level and Shim the Door Frame
This is one of the most critical steps. Use a level to check that the door frame is plumb (vertically straight) on both sides and level across the top.
Insert wooden shims between the door frame and rough opening where necessary to correct any unevenness. Focus on keeping the frame square and straight. Place shims behind the hinges and the latch side for the best support.
Double-check the door swing and clearance by opening and closing the door while the frame is still unsecured. Adjust shims as needed for smooth operation.
Step 5: Secure the Door Frame
Once the door is perfectly aligned and shimmed, start securing the frame to the rough opening with screws.
Drive screws through the frame and into the wall studs at the hinge locations first. Then secure the opposite side, making sure to maintain the frame’s plumb and level position. Avoid overtightening screws to prevent warping.
Continue adding screws every 8-12 inches along the frame to firmly anchor it.
Step 6: Check Door Operation and Adjust
Open and close the door several times to ensure it swings smoothly without binding or rubbing. If you notice any sticking or gaps, adjust the shims slightly and tighten screws again.
Make sure the door latch lines up perfectly with the strike plate on the frame.
Step 7: Install Door Trim and Finish
Once the door is installed and working correctly, install the door trim (casing) around the frame to cover gaps and shims.
Use finishing nails or a nail gun to attach the trim to the wall, being careful not to damage the door frame.
For a polished finish, apply caulk along the edges of the trim to seal any small gaps and give a clean look.

Additional Tips for Success
- Take your time with measurements and leveling; rushing can cause misalignment that is difficult to fix later.
- Use quality shims and screws to ensure the door frame stays stable over time.
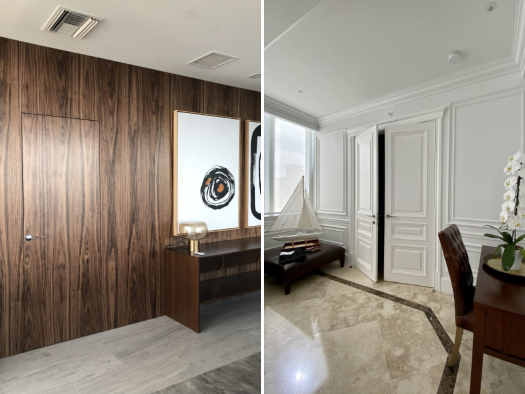
- If you’re installing a frameless door or a luxury modern interior door, extra care is needed as these designs require precise alignment for smooth operation.
- Consider painting or staining the door and trim after installation for a seamless, finished look.
Why Choose Indigo Doors for Your Pre-Hung Interior Doors
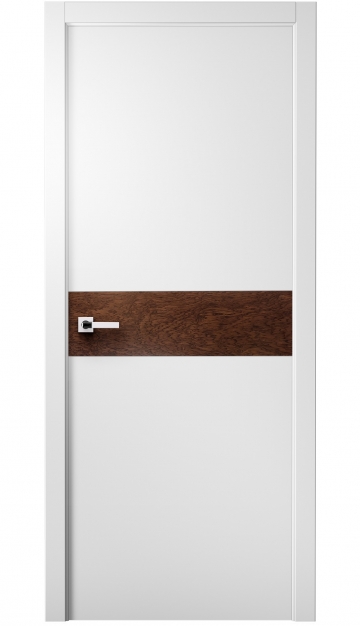
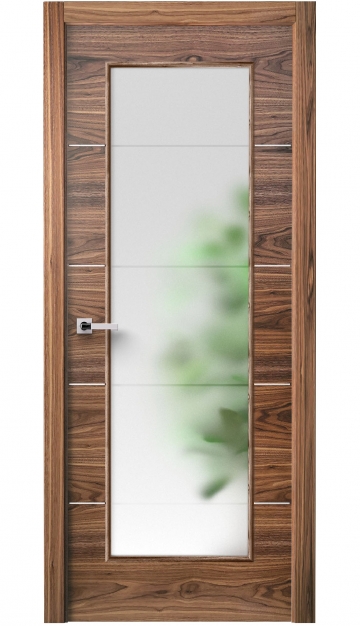
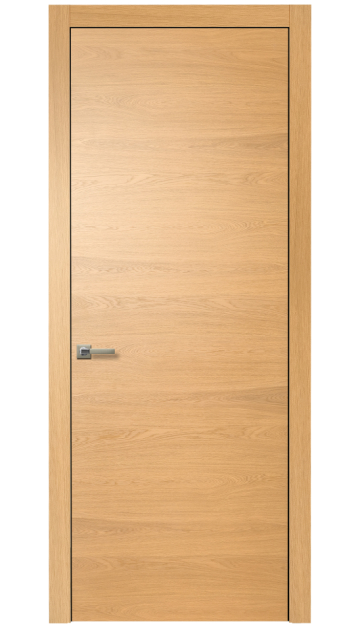
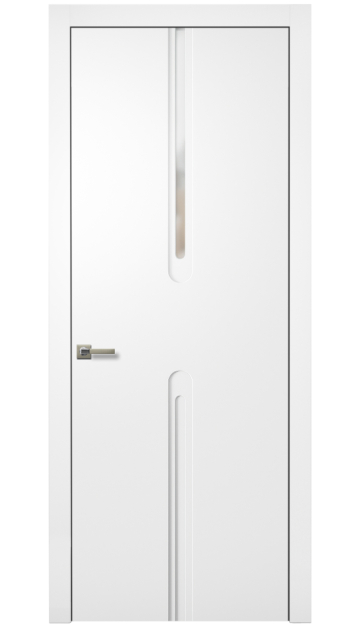
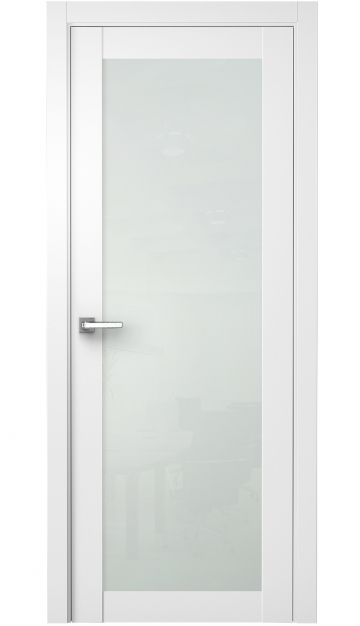
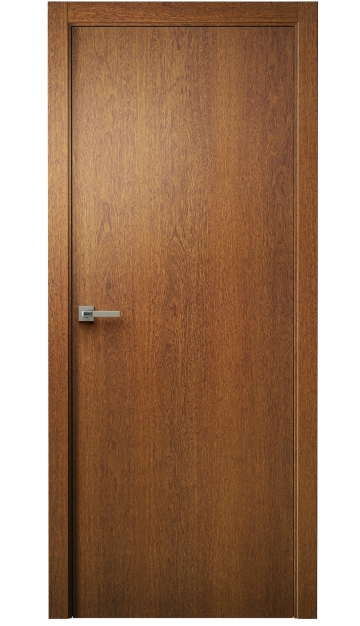
At Indigo Doors, we offer a wide selection of pre-hung luxury interior doors including modern interior doors, European doors, and frameless door systems. Our doors come with top-quality frames and hardware, making installation straightforward and reliable.
We provide detailed measurements guides and expert customer support to help you prepare for your installation project.
Our fast nationwide shipping from Florida ensures you get your doors quickly, so your renovation can stay on schedule.
Installing a pre-hung interior door yourself is a rewarding project that saves money and enhances your home’s style. Follow this step-by-step guide, and you’ll achieve professional-quality results with your new Indigo Doors product.